Guide
Your First Cross-Chain Transfer in 5 Steps — Swapcoin Blog
Never bridged before? Here's how to make your first cross-chain transfer in five simple steps — plus the common beginner mistakes to avoid.
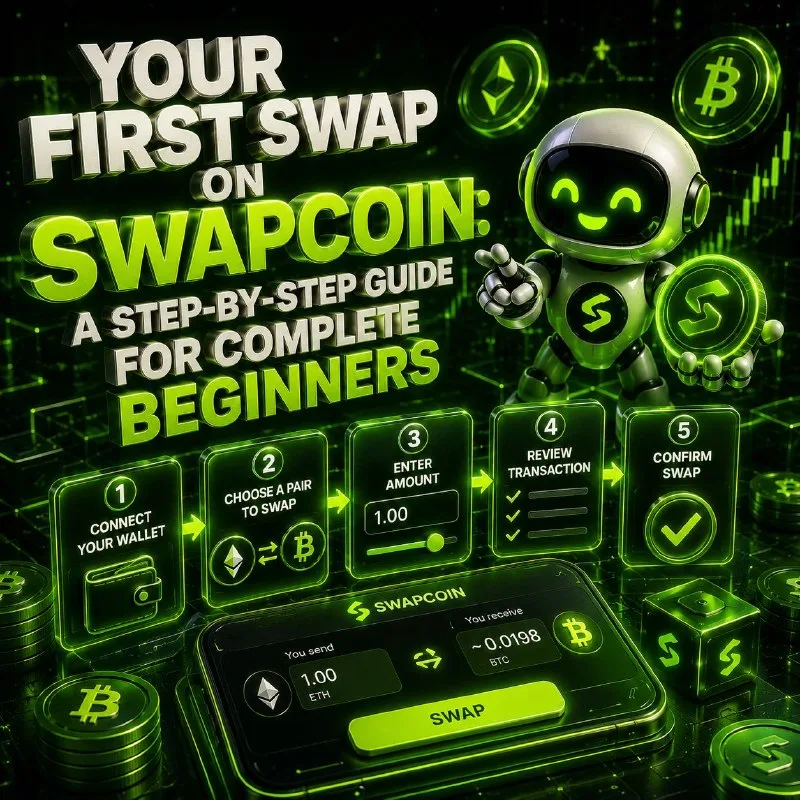
Your First Cross-Chain Transfer in 5 Steps
A first cross-chain transfer feels like the group project of crypto: pick a network, pick a bridge, hope the numbers line up, and assemble several wallet confirmations in the right order. It does not have to be like that. In five steps you can go from a wallet on one network to usable funds on another — and the five steps total less friction than most people expect.
Step 1: Decide the Receive Real Quick
Before touching a bridge, know two numbers: which asset you give, and which asset and network you receive. "USDC on Arbitrum" is a complete answer; "just send it to my other wallet" is not. The receive being explicit is what lets every later step check itself.
If you are moving stable value (USDT, USDC), the receive network matters more than the wrapper — pick the network with the use you need most, not with the prettiest fee.
Step 2: Check Gas on the Source Wallet
The number one cause of a failed first transfer is a zero native balance on the source network. Sending TRON USDT needs TRX; sending Ethereum assets needs ETH. A route cannot begin if the network cannot charge you for the beginning.
A good route screen checks this for you and can even include destination gas in the same move — decide before you sign whether arriving "usable immediately" matters. If it does, arriving with gas included is the flow you want.
Step 3: Read the Receive Amount, Not the Fee
Every bridge and aggregator shows you something before you confirm. Amateurs read the fee. Professionals read the receive amount — the total you actually get after gas, spread and impact.
This single habit changes everything, because the true cost of a cross-chain transfer hides most of its weight below the fee line. Two quotes for the same move can differ by far more than one of them admits, and only the receive amount tells you which.
Step 4: Confirm in One Transaction
Hand-assembling a bridge hop and a swap hop means two transactions, two sigs and two fee payments. An aggregated route packs the whole thing into one confirmation. Sign once, and the engine sequence the legs under the hood.
This is also where first-timers get the biggest win: the aggregated quote already picked the best venue per leg, so there is no manual comparison left to get wrong. What appears on screen is the final number, not an intermediate one.
Step 5: Verify and Use
After a few minutes the destination side confirms. Check the receive amount against the quote — it should match — then actually use the funds. The moment the money works on the far network is when the route was worth it.
Keep the receive wallet funded with the destination native token for the follow-up move, or use a gas-included route so the arrived USDC also pays the network fee for whatever comes next.
- Take one transfer, not a chain: bridge plus destination swap in one quote
- Compare two engines on the same move; keep the better receive figure
- Never sign a quote that shows only a fee and no receive total
- Leave destination gas or choose a gas-included route
The Mistakes First-Timers Make
The classic first-transfer failures are: sending from a wallet with zero source gas, picking the prettiest bridge fee and absorbing the spread, and manually bridging to a swap instead of routing end-to-end. All three are prevented by the same default — let the route engine compare and let the confirmation screen show the total.
If something does go wrong, most issues are fee- and gas-side and recoverable; the seven common swap mistakes walks exactly those recoveries. For a real-world version of doing it right, Andrew consolidating his weekly payments is a clean example of a working multi-network flow.
The first-move rule in one line
Decide the receive. Check source gas. Sign the receive amount in one transaction.
After the first transfer works, the second one should be fast — and the mindset shifts from "does this work?" to "which route is honest?" Most of the friction is concentrated in the first attempt. Once you have signed a quote that displayed a receive amount and watched it land, the mystery evaporates and the remaining question is simply which of the available routes keeps the most of your amount.
Keep a small mental checklist for the second and third moves: verify the source wallet actually holds the native gas, confirm the destination, and read the receive rather than the fee. None of these takes a calculator. Together they remove the three failure classes that send newcomers back to exchange withdrawals as a default.
It is also worth recording what good feels like. When a transfer completes and the receive matches the quote, that is the experience to reproduce — not the outlier where fees were invisible and the fill drifted. Repeating the good pattern is how the first cross-chain transfer becomes a habit instead of a ceremony.
If a transfer ever does fail midway, resist the urge to retry blindly. The most common causes — insufficient source gas, a network mismatch, an expired nonce — are visible on a good route screen before you even re-sign. Diagnose, adjust, and re-quote rather than firing the same transaction again and adding to the wasted-gas total.